Map Views
The Maps page displays the maps created using the CLI, or GigaVUE‑FM APIs.
To view the map, do the following:
| 1. | Go to Inventory > Physical > Nodes. |
| 2. | Click the Cluster ID link, go to Traffic > Maps > Maps. |
Note: Starting in software version 5.5.01, any change in the map health status is indicated immediately in the Maps page.
The maps can be displayed in List or Map Topology views.
List View
The List View is the default view of the maps when the Maps page is opened. This view shows the basic information about each map:
- Alias
- Type
- Subtype
- Source and destination ports
- Control Traffic: Displays if the control traffic is enabled or disabled for a particular map. This is applicable only for First Level, By Rule maps.
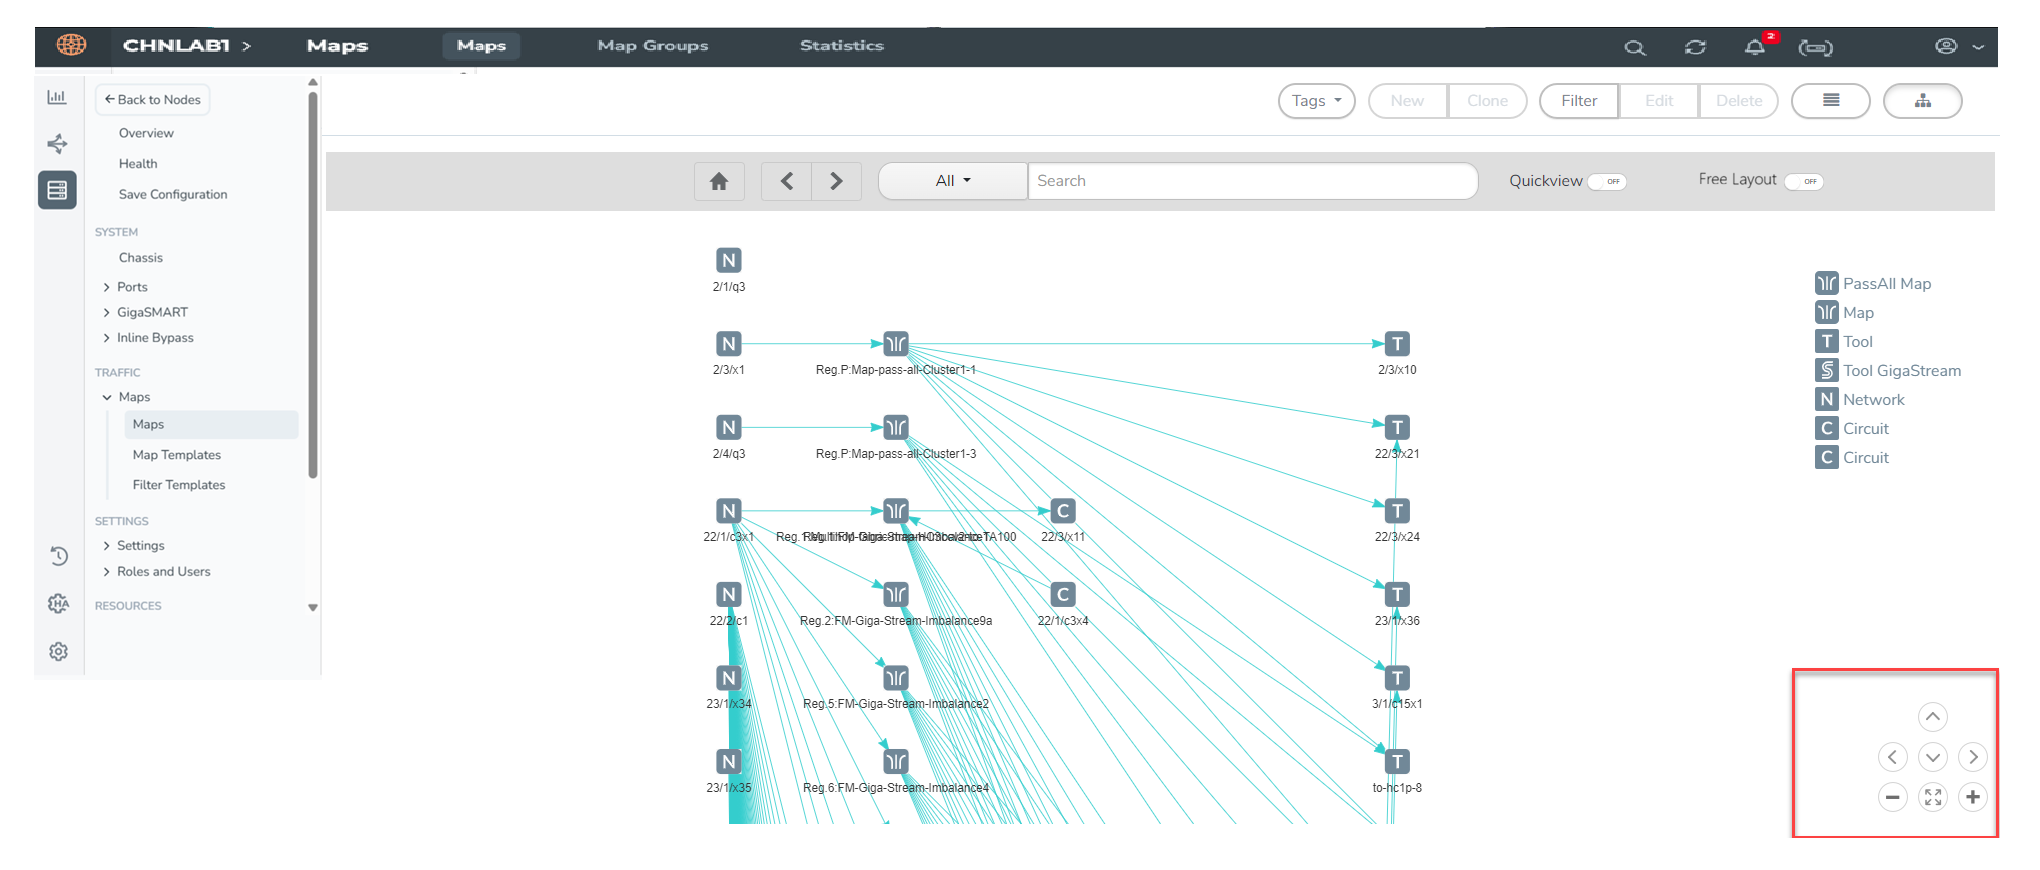
Map Topology View
Click the ![]() icon. The Topology View of the maps appears. Each map in the Maps page gets displayed as Topologies. The Map Topology presents a graphical representation of all maps available from the device, including both system-defined and user-created maps. You can interact with the topology to efficiently search for ports, navigate through the layout, and inspect individual elements in detail.
icon. The Topology View of the maps appears. Each map in the Maps page gets displayed as Topologies. The Map Topology presents a graphical representation of all maps available from the device, including both system-defined and user-created maps. You can interact with the topology to efficiently search for ports, navigate through the layout, and inspect individual elements in detail.
If a particular map is selected, only that map is displayed with its details, instead of showing all maps. You can use the back and forward arrows to navigate to the previous and next maps, respectively. The Home option allows you to return to the main maps page.
GigaVUE‑FM provides multiple options for viewing map topology, including QuickView and Free Layout.
Quickview
Without enabling QuickView, selecting a map displays only that map in the topology view.
In QuickView, you can move ports up and down only.
If QuickView is enabled and you select a port, its details are displayed in a pane.
- When you click on any node in the Topology View, a Quick View panel opens, displaying details for that element.
- The Quick View panel opens, showing details such as port details, map configuration, and associated connections.
- Use the zoom and scroll buttons at the bottom of the page to zoom in and out.
- Click on a map to view the connections.
- Use the Search field to enter the name or type of map you want to locate. The topology view filters and displays only the matching maps.
The topology section provides access to all maps created on the device by the user. You can search for a specific type of map to view its details. Only the searched map will be displayed. For example, if you search for the x23 port, only the map containing that port will be shown.
Note: Searching narrows the display to matching items only, making it easier to locate specific maps in large deployments.
Free Layout
Note: Starting from 6.14, a new Free Layout option in the topology view lets you freely rearrange these canvas elements to match your preferred visual layout. Your layout is stored as a user preference and is automatically restored when you return to the Maps topology view.
| 1. | Click on the |
| 2. | In the topology view, turn on the Free Layout option (toggle). When Free Layout is enabled, the elements on the topology canvas become freely movable. |
| 3. | Click and drag map elements (such as network, map layers, tool ports, virtual ports, and hybrid ports) to the desired positions. |
| 4. | Arrange the elements in any logical pattern you prefer. For example, vertically from network (source) to tool port (destination) instead of the default horizontal layout. |
| 5. | Use the zoom and scroll buttons at the bottom of the page to zoom in and out. |
| 6. | Click on a map to view the connections. |
<Image to be updated>
Resetting to Default Layer
You can return to the default topology layout, do the following:
| 1. | In the Map Topology view, click the Default Layer option. |
| 2. | The topology resets to the default layout, clearing any applied filters or navigation state. |


