Configure the SNMP Server and Notification Destinations
The SNMP server on the GigaVUE HC Series or TA Series must be enabled in order to send traps. This is done on the ADD SNMP Trap page, where you also you specify the destinations for SNMP notifications sent from the GigaVUE HC Series or GigaVUE TA Series node.
Note: The recommended maximum number of SNMP trap destinations is five (5).
To specify a notification destination and enable the SNMP sever, do the following:
|
1.
|
Select Settings > Global Settings > SNMP Traps. |
|
2.
|
Select Remote Log Sinks from the drop-down list. |
|
3.
|
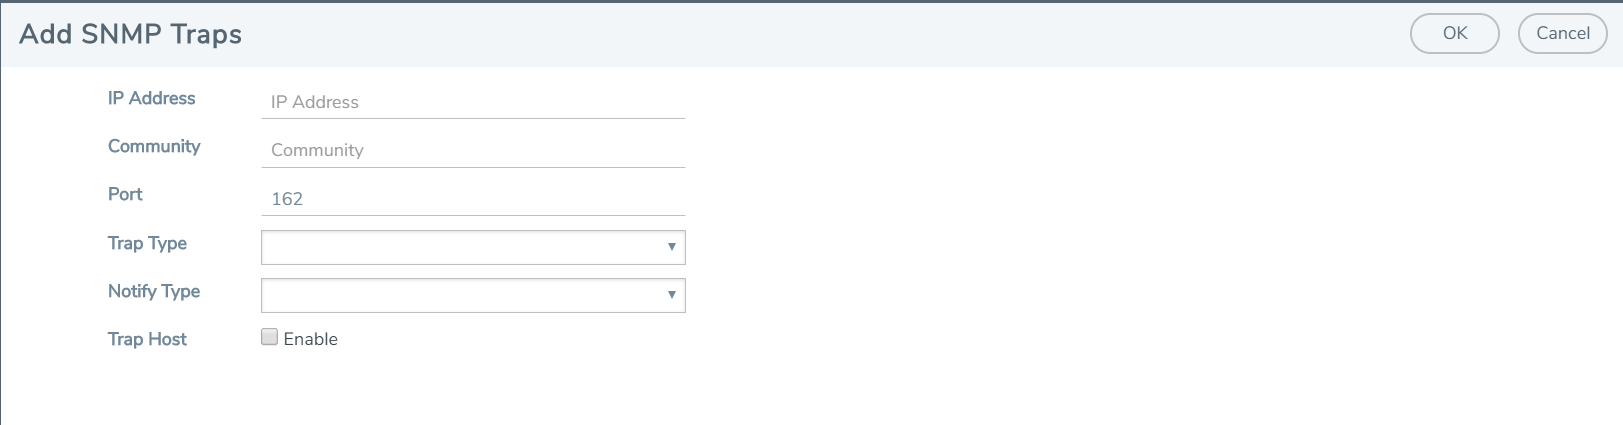
Click New. The Add SNMP Traps page shown in 1 displays. |
|
4.
|
Configure the notification destination by doing the following: |
|
a.
|
Enter the IP address for the trap destination in the IP Address field. Both IPv4 and IPv6 addresses are supported for SNMP. |
|
b.
|
Enter the community string in the Community field. For example, public. |
|
c.
|
Enter the server port number in the Port field. |
|
d.
|
Click in the Trap Type field and select v2c or v3 for the drop-down list. |
If you select v3, you will also need to configure the SNMP v3 Users. Refer to Configure SNMP v3 Users.
|
e.
|
Click in the Notify Type field and select trap or inform. |
|
f.
|
(Optional) If you selected v3 for Trap Type, enter the v3 username in the v3 user field. |
|
g.
|
Select Enable for Trap Host to enable the host. |


