Connecting Power to the GigaVUE®TA Series
The procedure below describes how to supply power to the GigaVUE‑TA400 node.
| 1. | Plug an approved C13 power cable (C15 power cable for GigaVUE‑TA400) into each of the power supplies at the rear of the GigaVUE‑TA400 as shown in 1 to 3. |
NOTE: For information on connecting the optional DC power supplies, Refer to Connecting -48V DC Power Supplies.
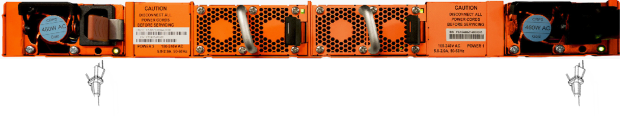
| 1 | Connecting AC Power |
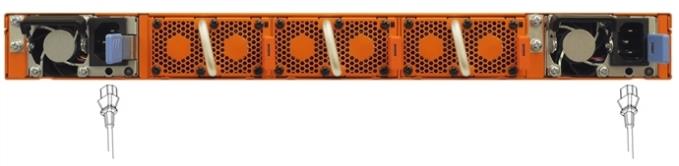
| 2 | Connecting AC Power on a GigaVUE-TA100 |
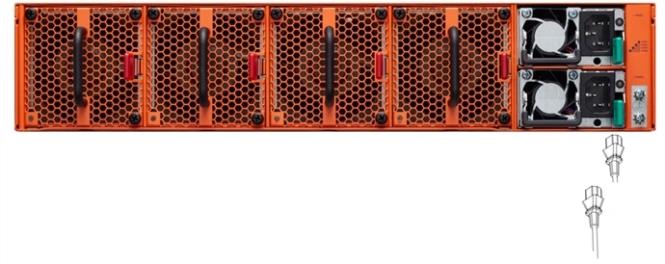
| 3 | Connecting AC Power on a GigaVUE-TA200 |
| 2. | Plug the other end of the power cable(s) into a power source that can supply adequate power. |
Note: If you are using the optional second power supply provided with the node, plug the two power supplies into separate circuits for optimal power protection.
For information on the GigaVUE TA Series power requirements, refer to Power Requirements.
Note: To avoid disk corruption, please ensure the "reload halt" command is executed before an ungraceful power shutdown or power supply module removal.
Note: The GigaVUE TA Series does not have power switches – once you connect the system to power, it automatically powers on.
| 3. | Power is turned ON when the unit is plugged in, and turned off when the unit is unplugged. |
Note: Once the power supply is powered OFF, wait for 1 minute (60 seconds) before powering the supply ON for GigaVUE TA Series.
Refer to Connecting Serial Console and Mgmt Ports for information on how to connect to the GigaVUE TA Series command-line interface (CLI).


