Create a New Map
You must have the flow map license to deploy a map in the monitoring session.
For new users, the free trial bundle expires after 30 days, and the GigaVUE‑FM prompts you to buy a new license. For licensing information, refer to GigaVUE Licensing Guide.
A map is used to filter the traffic flowing through the GigaVUE V Series Nodes. It is a collection of one or more rules (R). The traffic passing through a map can match one or more rules defined in the map.
Terms to know before creating a map:
| Parameter | Description | ||||||||||||||||||||||||||||||||||||||||||||||||
|
Rules |
A rule (R) contains specific filtering criteria that the packets must match. The filtering criteria lets you determine the targets and the (egress or ingress) direction of tapping the network traffic. |
||||||||||||||||||||||||||||||||||||||||||||||||
|
Priority |
Priority determines the order in which the rules are executed. The priority value can range from 1 to 5, with 1 being the highest and 5 is the lowest priority. |
||||||||||||||||||||||||||||||||||||||||||||||||
|
Pass |
The traffic from the virtual machine is passed to the destination. |
||||||||||||||||||||||||||||||||||||||||||||||||
|
Drop |
The traffic from the virtual machine is dropped when passing through the map. |
||||||||||||||||||||||||||||||||||||||||||||||||
|
Traffic Filter Maps |
A set of maps that are used to match traffic and perform various actions on the matched traffic. |
||||||||||||||||||||||||||||||||||||||||||||||||
|
Inclusion Map |
An inclusion map determines the instances to be included for monitoring. This map is used only for target selection. |
||||||||||||||||||||||||||||||||||||||||||||||||
|
Exclusion Map |
An exclusion map determines the instances to be excluded from monitoring. This map is used only for target selection. |
||||||||||||||||||||||||||||||||||||||||||||||||
|
Automatic Target Selection (ATS) |
A built-in feature that automatically selects the cloud instances based on the rules defined in the traffic filter maps, inclusion maps, and exclusion maps in the monitoring session. The below formula describes how ATS works: Selected Targets = Traffic Filter Maps ∩ Inclusion Maps - Exclusion Maps Below are the filter rule types that work in ATS:
The traffic direction is as follow:
Note: If no ATS rule filters listed above are used, all VMs and vNICS are selected as targets. When any ATS rule results in a null set, no target is selected and V Series Node does not receive traffic from any VM or vNIC. |
||||||||||||||||||||||||||||||||||||||||||||||||
|
Group |
A group is a collection of maps that are pre-defined and saved in the map library for reuse. |
To create a new map:
- Perform one of the following:
- Create a new monitoring session, or click Actions > Edit on an existing monitoring session. The
GigaVUE‑FM canvas appears.
- Create a new monitoring session, or click Actions > Edit on an existing monitoring session. The
GigaVUE‑FM canvas appears.
- In the canvas, select New > New Map, drag and drop a new map template to the workspace. The New Map quick view appears.
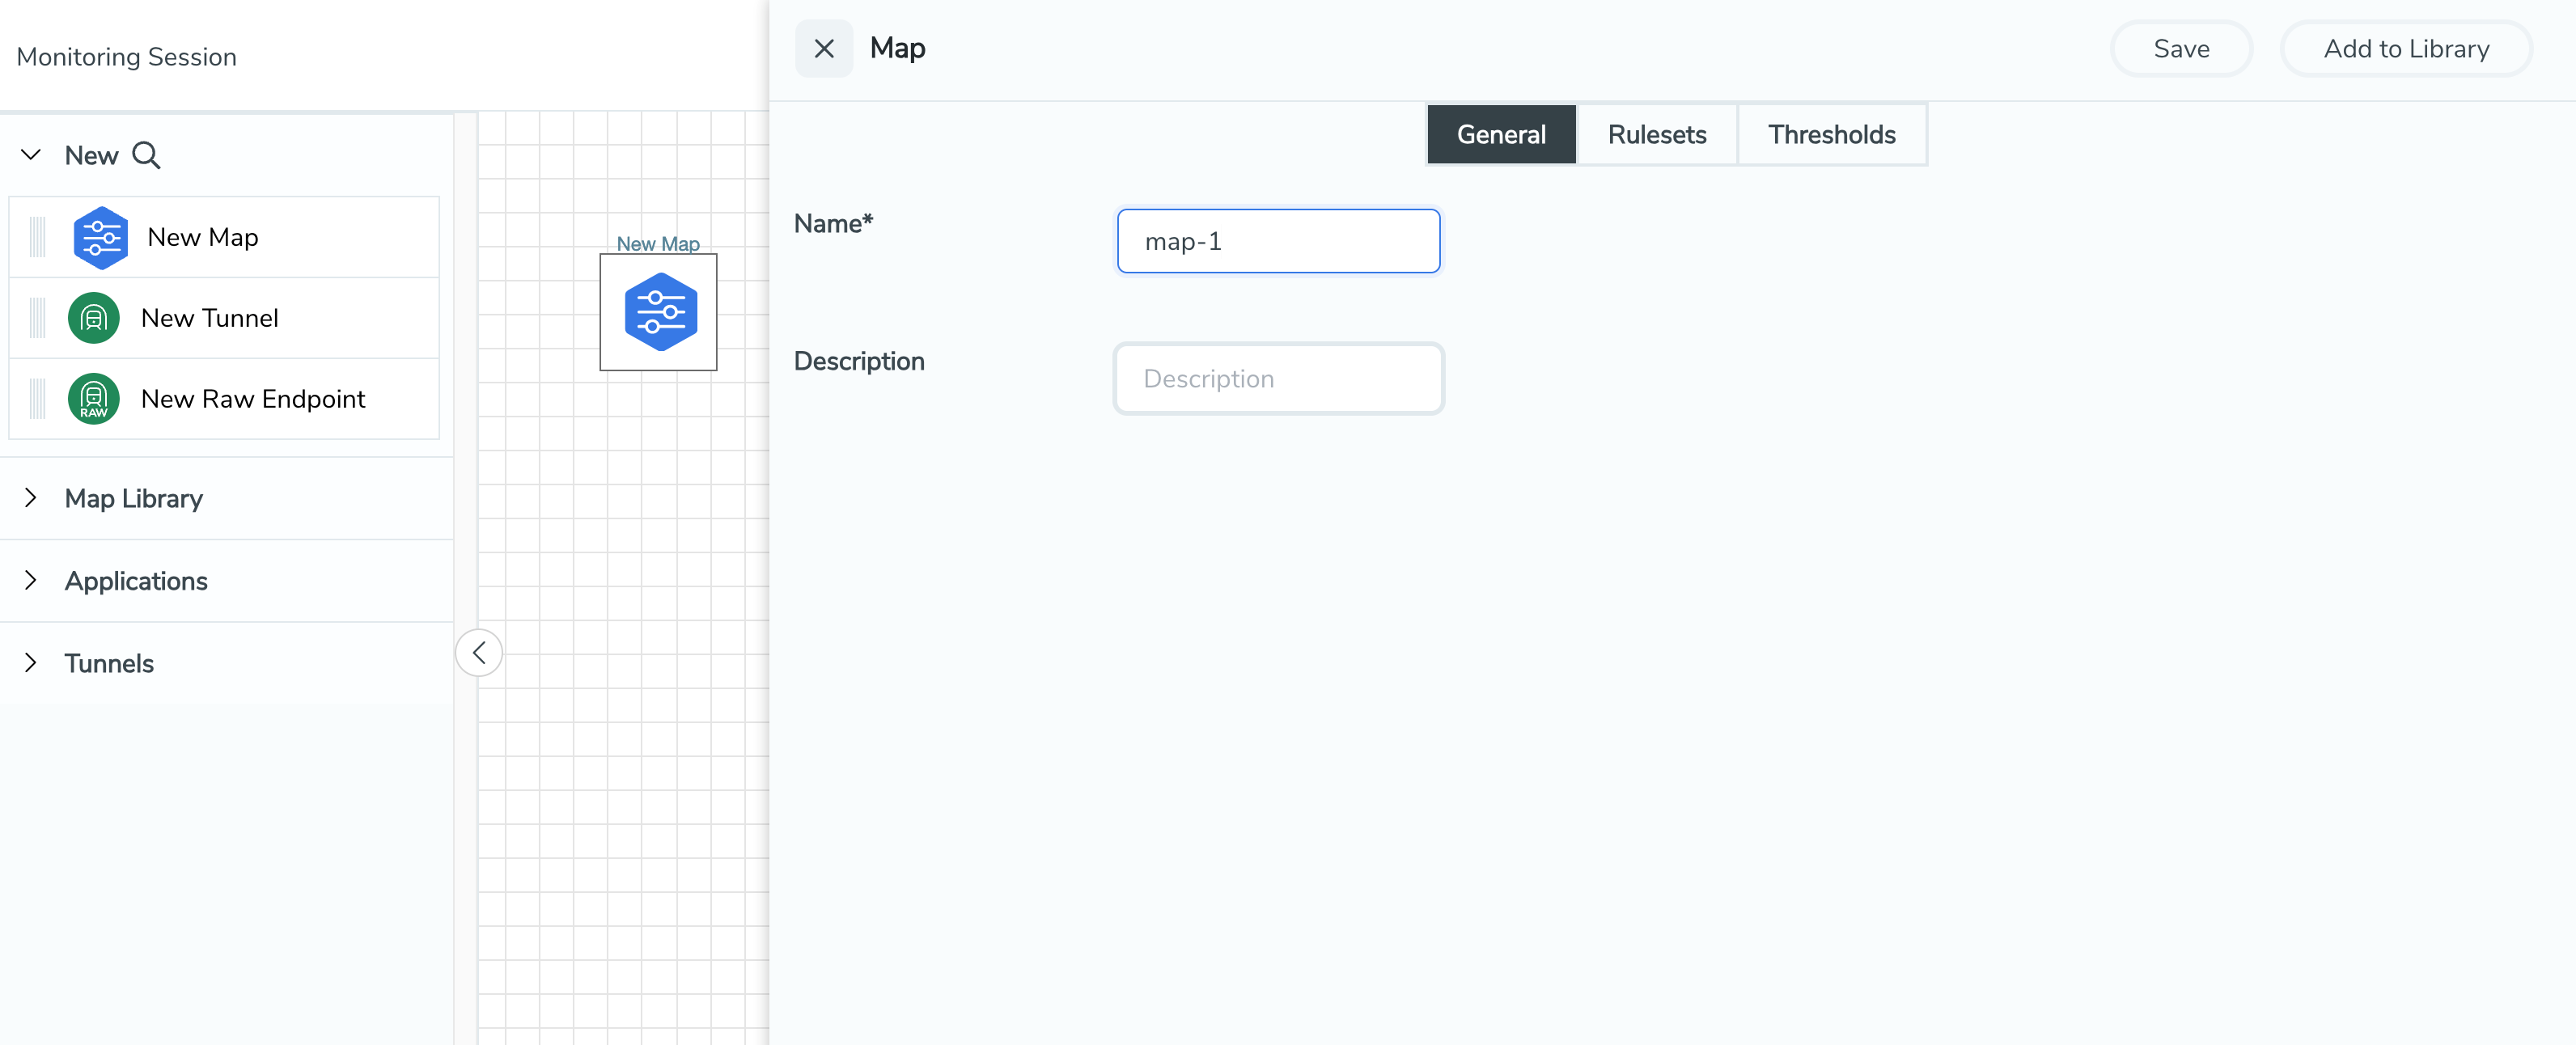
- On the New Map quick view, select on General tab and enter the required information as described in the following table:
Field
Description
Name Name of the new map Description
Description of the map Pass and Drop rule selection with Automatic Target Selection (ATS) differ with the Map type as follows:- Traffic Map—Only Pass rules for ATS
- Inclusion Map—Only Pass rules for ATS
- Exclusion Map—Only Drop rules for ATS
- Select the Rule Sets tab. Through the map, packets can be dropped or passed based on the highest to lowest rule priority. You can add 5 rule sets on a map. Use the + and - buttons to add or remove a rule set in the map. Each rule set can have only 25 rules per map and each rule can have a maximum of 4 conditions. To add ATS rules for an Inclusion/Exclusion map, you must select at least one rule condition. For more details, refer to
Example- Create a New Map using Inclusion and Exclusion Maps.
- To create a new rule set:
- Select Actions > New Rule Set.
- Enter a Priority value from 1 to 5 for the rule with 1 being the highest and 5 is the lowest priority.
- Enter the Application Endpoint in the Application EndPoint ID field.
- Select a required condition from the drop-down list.
- Select the rule to Pass or Drop through the map.
- To create a new rule:
- Select Actions > New Rule.
- Select a required condition from the drop-down list. Select
 and select Add Condition to add more conditions.
 - Select the rule to Pass or Drop through the map.
- To create a new rule set:
- Select Save.
Note: If a packet is fragmented then all the fragments are destined to the same application end point. You can find the stats of mapped fragmented traffic in
GigaVUE‑FM. For details, refer to
Manage a map
-
Edit: Select the map and select Details.
-
Delete: Select the map and select Delete.
-
To apply threshold template to maps, select the required map on the canvas and select Details. The quick view appears, select on the Threshold tab. For more details on how to create or apply threshold templates, refer to Monitor Cloud Health.
Rules and Notes:
- Directional rules do not work on single NIC VMs that are running a Windows UCT-V.
You can also perform the following action in the Monitoring session canvas.
- Select a map and select Details to edit the map
- Select a map and select Delete to delete the map.
- Select the Show Targets button to refresh the subnets and monitored instances details that appear in the Instances dialog box.
- Select
 to expand the Targets dialog box. To view details about a
GigaVUE V Series Node, select the arrow next to the VM.
to expand the Targets dialog box. To view details about a
GigaVUE V Series Node, select the arrow next to the VM. - In the Instances window, select
 to filter the list of instances.
Example- Create a New Map using Inclusion and Exclusion Maps
Consider a monitoring session with 5 cloud instances. Namely target-1-1, target-1-2, target-1-3, target-2-1, target-2-2.
- Drag and drop a new map template to the workspace. The New map quick view appears.
- In the General tab, enter the name as Map 1 and enter the description. In the Rule sets tab, enter the priority and Application Endpoint ID.
- Select the condition as VM Name and enter the target. This includes the instances target-1-1, target-1-2, target-1-3, target-2-1, and target-2-2.
- Select on the Expand icon at the bottom of the Monitoring session canvas. The Inclusion Maps and Exclusion Maps section appears.
- Drag and drop a new map template to the Inclusion Maps region. The New Map quick view appears. Enter the Name and Description of the map.
- In the General tab, enter the name as Inclusionmap1 and enter the description. In the Rule Sets, enter the priority and Application Endpoint ID.
- Select the condition as VM Name and enter the VM Name as target-1. Then, the instance with VM name target-1-1, target-1-2, and target-1-3 is included.
- Drag and drop a new map template to the Exclusion Maps region. The New Map quick view appears. Enter the details as mentioned in the above section.
- In the General tab, enter the name as Exclusionmap1 and enter the description. In the Rule Sets tab, enter the priority and Application Endpoint ID.
- Select the condition as VM Name and enter the VM Name as target-1-3. Then the instance target-1-3 is excluded.
Based on this configuration, the Automatic Target Selection selects the instances target-1-1 and target-1-2 as target.


