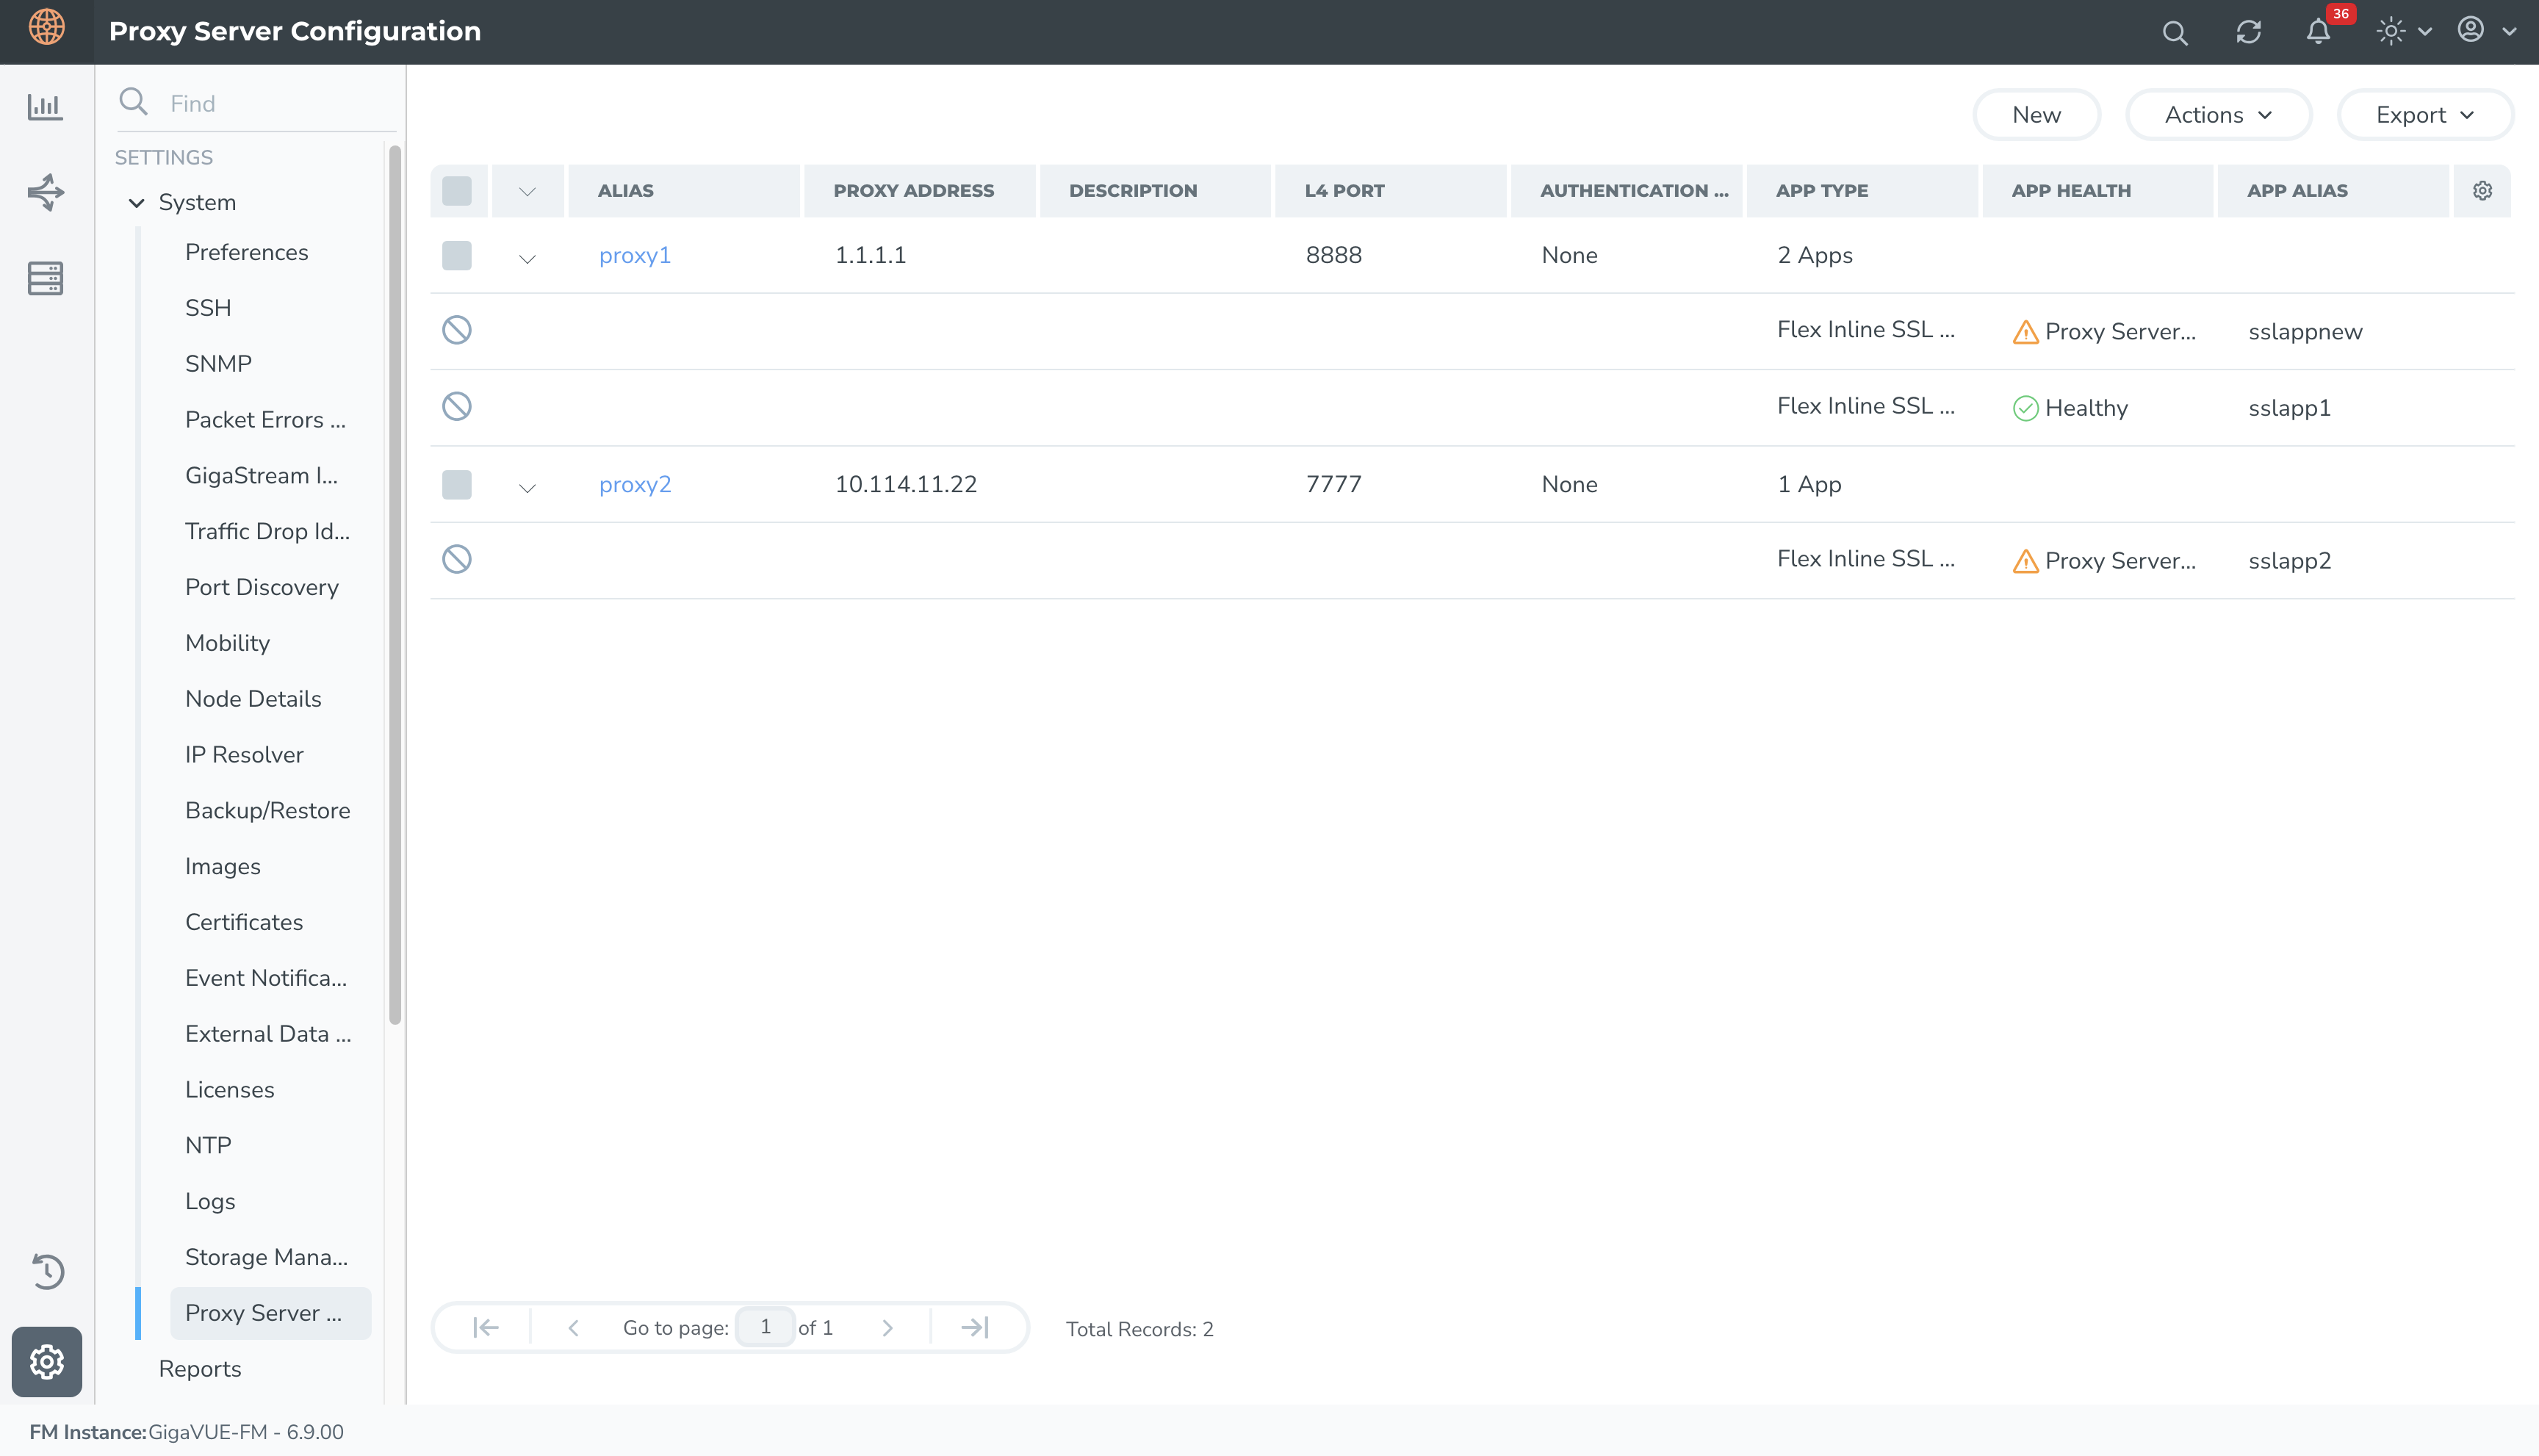
Configure Proxy Server Profile
|
1.
|
Go to Settings>Setting> Proxy Server Configuration > New. Configure the following field attributes: |
|
■
|
Alias- This is the proxy server profile alias. Once configured, this field cannot be modified. |
|
■
|
Description - Enter a description for the Proxy Server Profile. |
|
■
|
Protocol-Only HTTP protocol is supported. |
|
■
|
Proxy Address- Enter the proxy server address. This could be either the IP address or the domain name of the proxy Server profile . |
|
■
|
L4 Port- Specify the L4 port for the proxy server profile. |
|
■
|
Authentication Type- Only Basic and None authentication types are currently supported. If you select Basic then the following fields will be enabled : |
|
o
|
User name -Enter the User name. |
|
o
|
Password- Enter the Password. If you upgraded your device from GigaVUE-OS version 6.8.xx to 6.9.xx, the Proxy Server Profiles configured through GigaVUE-OS CLI will be migrated to GigaVUE-FM. However, to use the Proxy server Profile in a new Inline SSL application you will need to reconfigure your password in GigaVUE-FM. |
|
■
|
Periodic Ping- You can enable or disable Periodic Ping which checks the status of the proxy server profile at regular intervals. If it is enabled configure the following fields: |
|
o
|
Periodic Ping Type-This indicates the type of Periodic ping that would be sent. Only http-connect is supported. |
|
o
|
Periodic Ping Interval-Configure the interval at which the periodic ping should be initiated. You can enter a value from 1-10. |
|
o
|
Periodic Ping Failure Retry- Configure the number of attempts that a periodic ping can be sent. You can enter a value from 1-3. |
A new Proxy Server profile can also be created from the Inline SSL app configuration page by using the 'Create Proxy' button. The created Proxy Server profiles will be listed and managed under the Proxy Server Configuration page.
The configured Proxy profile is maintained in GigaVUE-FM and is not attached to a node until explicitly done so through an Inline SSL deployment. A unique alias can be used to reuse and attach a proxy server profile configuration to multiple nodes.
Editing a Proxy Server Profile
To edit an existing Proxy Server Profile:
|
3.
|
Go to Settings>Setting> Proxy Server Configuration. |
|
4.
|
Select the Proxy Server profile that you want to edit and click on the Actions> Edit,the edit Proxy Server profile page appears. |
|
5.
|
You can edit all attributes of your profile, except for the Alias. |
|
6.
|
Click on Apply to save your changes. |
Any edits made to the Proxy Server Profile will also be reflected in the associated Inline SSL Solution.
Delete a Proxy Server Profile
To delete an existing Proxy Server profile:
|
1.
|
Go to Settings>Setting> Proxy Server Configuration. |
|
2.
|
Select the Proxy Server profile that you want to edit and click on the Actions> Delete. The Proxy Server profile is deleted. |
Note: If your Proxy Server profile is associated with an Inline SSL application, choose 'None' in the Proxy Server profile field on the Inline SSL configuration page to disconnect the proxy server profile prior to deleting the profile.


