Install GigaVUE‑FM for KVM using ISO Image File
The GigaVUE‑FM software package for KVM environments is distributed as an ISO image file. The following sections describe how to deploy a fresh installation of GigaVUE‑FM on a KVM host.
These steps are only valid for new installations of GigaVUE‑FM.
Use the Virtual Machine Manager to install the GigaVUE‑FMISO image file.
Note: The ISO image file must be stored in a location that is accessible to the Manager.
To create the Virtual Machine for GigaVUE‑FM in KVM:
Note: These instructions use “Virtual Machine Manager” to create and manage the virtual machines (VMs).
| 1. | Open the Virtual Machine Manager, and then click the Create a new virtual machine icon as shown in the following figure: |
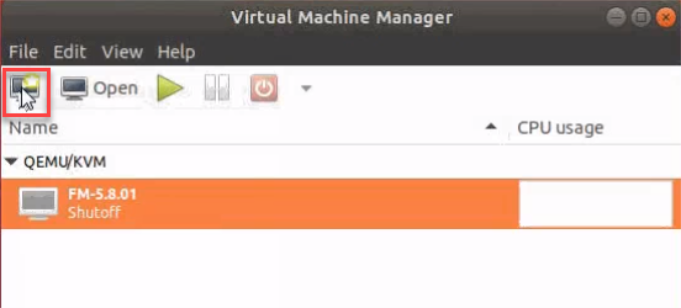
The New Virtual Machine Wizard opens.
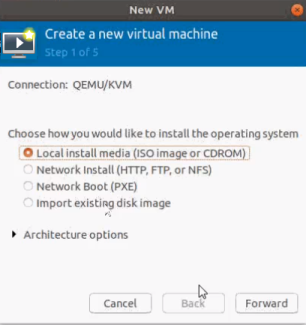
| 2. | Select Local install media (ISO image or CDROM), and then click Forward to continue. |
| 3. | Browse and select the location from where to upload the GigaVUE‑FM ISO image, and then select the Automatically detect operating system based on install media check box. |
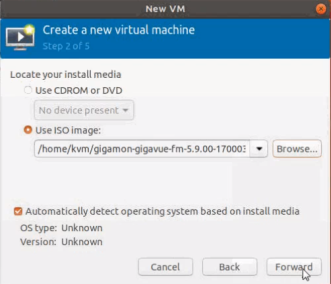
Click Forward to continue.
| 4. | Set the Memory and CPU Settings. |
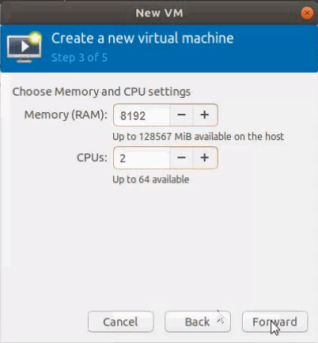
Click Forward to continue.
| 5. | Select the Enable storage for this virtual machine check box, and set the Size to 40Gb. |
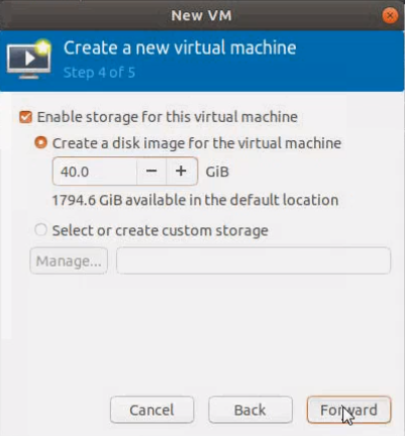
Click Forward to continue.
| 6. | On the next screen, complete the following: |
| a. | Enter a unique name for the virtual machine. |
| b. | Select the Customize configuration before install check box. |
| c. | From the Network Selection drop-down list, select the required network communication option. |
| d. | From the Source mode drop-down list, select Bridge. |
| e. | Click Finish. |
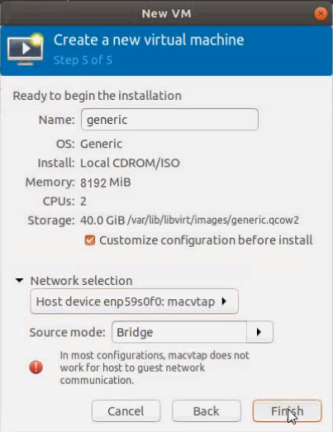
The summary screen appears as shown in the following figure:
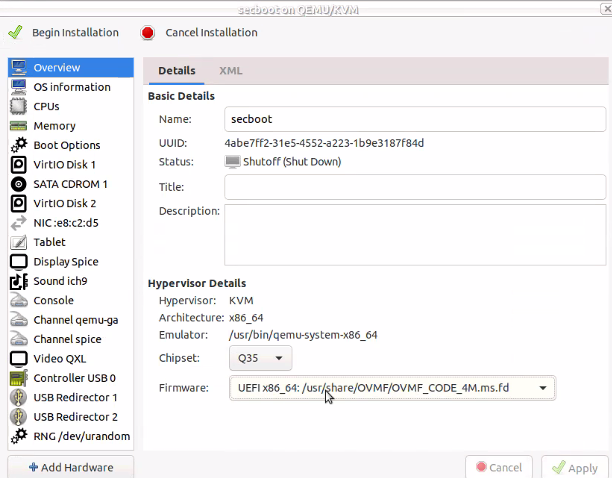
| 7. | To enable UEFI Secure boot, choose the UEFI X86_64: option from the Firmware drop-down list. |
| 8. | Verify the options that you have selected, and then click Add Hardware to add the second disk. |
| 9. | In the Add New Virtual Hardware screen, set the disk size to 40 GiB. |
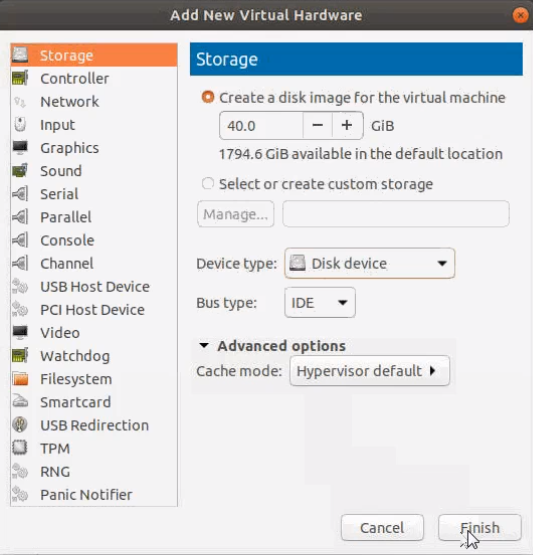
| 10. | Click Finish. The summary screen appears again where you can verify the details of IDE Disk 2 that you added. Click Begin Installation. |
Once the installation is complete, the virtual machine launches.


