Upgrade GigaVUE V Series Node in GigaVUE‑FM for Nutanix
This section describes how to upgrade the GigaVUE V Series Node and GigaVUE V Series proxy :
-
Go to Inventory > VIRTUAL > Nutanix. The Monitoring Domain page appears.
-
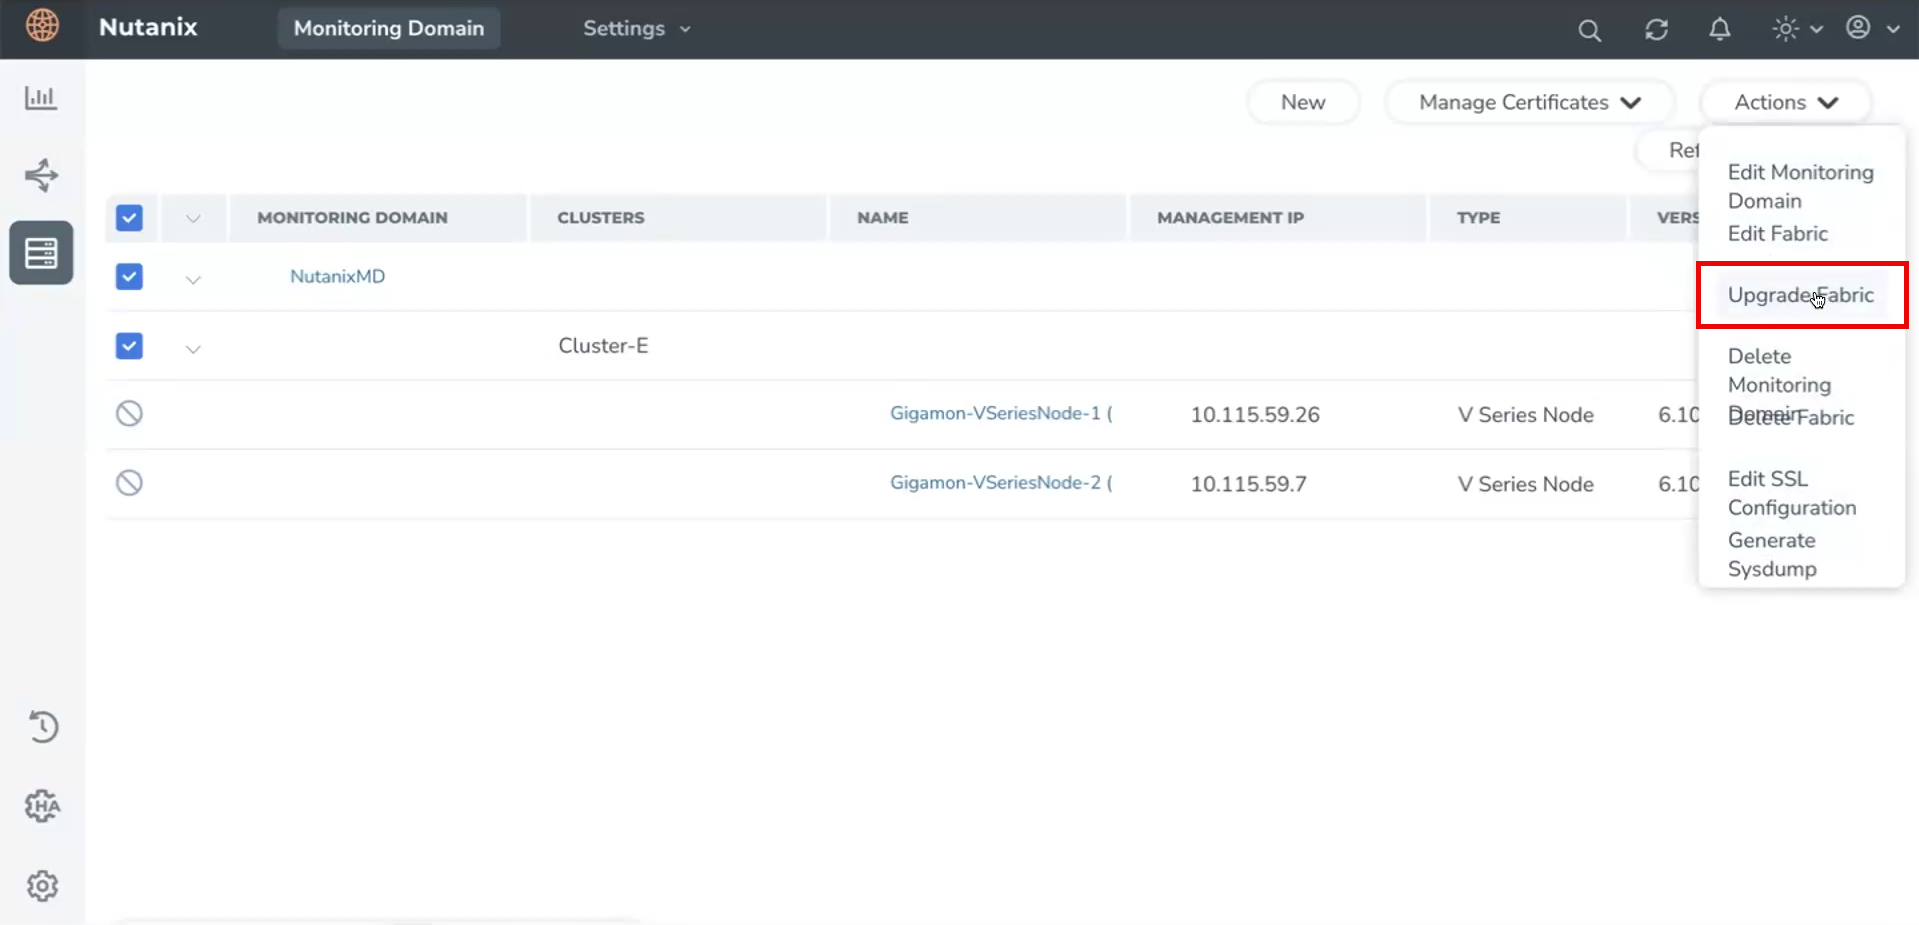
On the Monitoring Domain page, select the Monitoring Domain check box for the Monitoring Domain with the GigaVUE V Series Node you want to upgrade.
-
Click Actions > Upgrade Fabric.
-
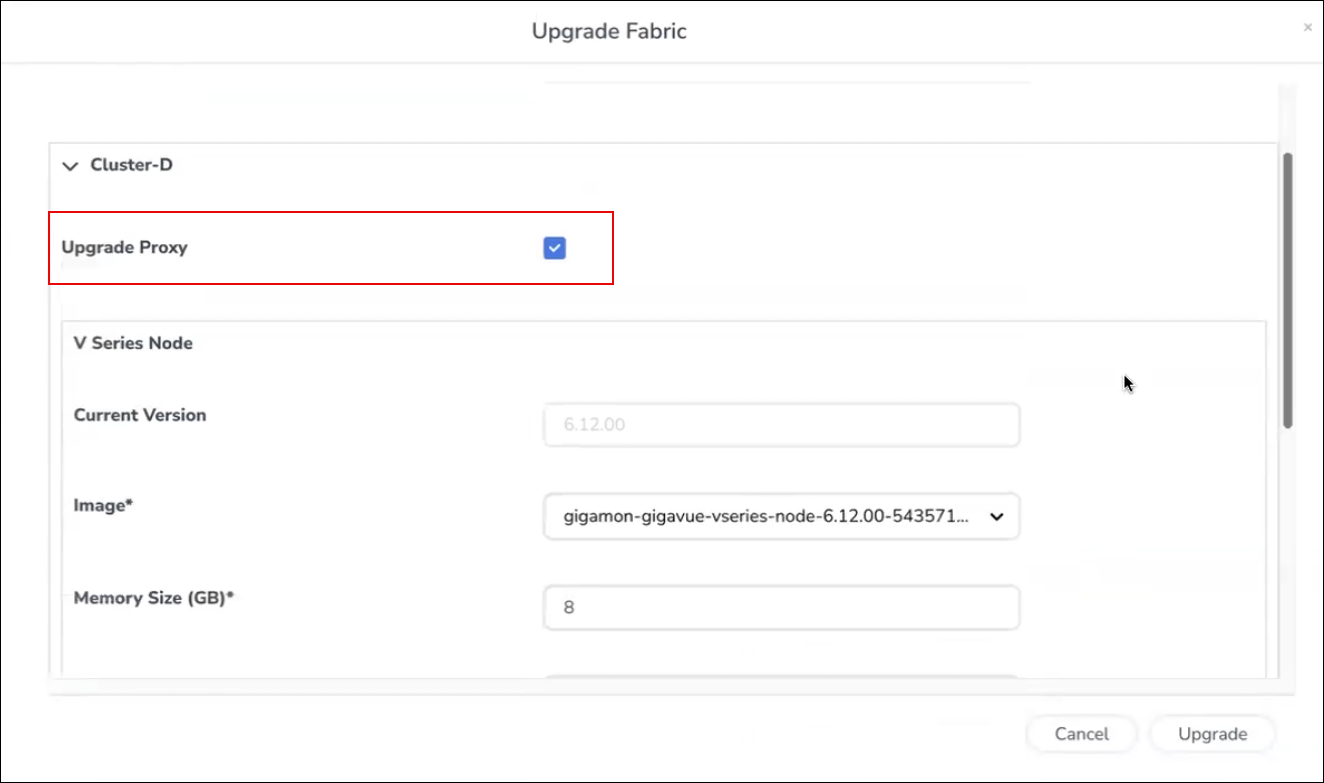
In the Upgrade Fabric dialog, if multiple clusters exist, different images can be selected per cluster. While upgrading a cluster, make sure the proxy (if deployed) is also upgraded, to maintain compatibility.
-
The Monitoring Domain and Cluster(s) will be auto-populated.
-
Select a new image version (must be higher than the current version).
-
Optionally, update memory, disk size, and vCPU settings.
-
If a proxy exists in the cluster, select the proxy option check box.
-
-
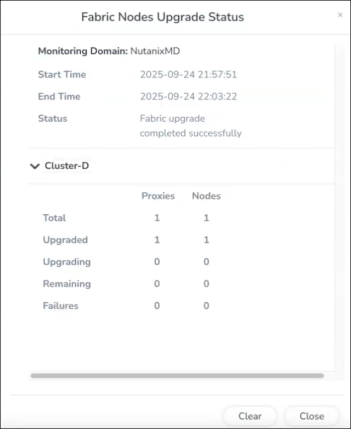
Click Upgrade. A status page will show upgrade progress and results. A link appears in the Status column labeled Upgrade in Progress.
-
Once the upgrade is finished, the status changes to Upgrade Successful.
-
If the upgrade fails, the status reflects the failure details.
-
-
The Clear option appears on the status screen only after the upgrade is successful, and clicking it removes the status link from the UI.
For instruction, refer to Configure GigaVUE Fabric Components in GigaVUE-FM.The GigaVUE V Series Nodes are successfully upgraded.
Note: If the upgrade fails, GigaVUE-FMwill remove the new nodes and try to power on the original ones with their previous settings.


