Connecting Power to the GigaVUE‑HC2
The procedure for connecting power to the GigaVUE‑HC2 is similar to the other GigaVUE H Series nodes:
|
GigaVUE Chassis Type |
Number of Power Modules |
Power Supplies per Modules |
|
GigaVUE‑HC2 |
2 |
1 |
In all cases only a single power module is required to operate the node. However, connecting both modules provides redundant power.
| 1. | Plug an approved C13 power cable into each of the power modules at the rear of the GigaVUE‑HC2 chassis. |
Note: For information on connecting the optional DC power modules, refer to Figure 1 DC Power Module .
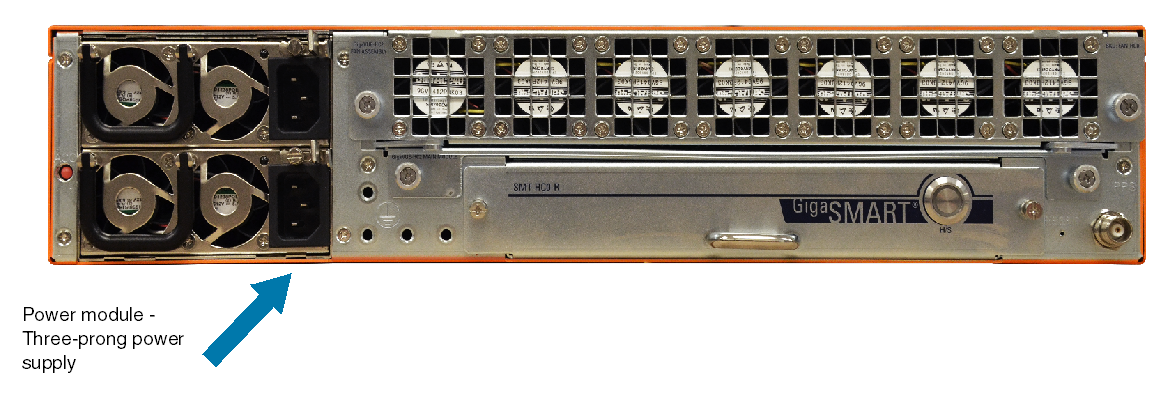
| Figure 2 | Connecting AC Power (GigaVUE‑HC2) |
| 2. | Plug the other end of the power cables into a power source leader in a bidirectional clock relationship (formerly master) that can supply adequate power. For optimal power protection, plug the power modules into separate circuits.When connecting to the external AC power source, ensure that a Surge Protective Device (SPD) is installed at the AC power inlet. |
For information on GigaVUE‑HC2 power requirements, refer to AC- and DC-Powered GigaVUE‑HC2.
Note: To avoid disk corruption, please ensure the "reload halt" command is executed before an ungraceful power shutdown or power supply module removal.
| 3. | Power is turned on when the unit is plugged in, and turned off when the unit is unplugged. Refer to Connecting Serial Console and Mgmt Ports for information on how to connect to the GigaVUE‑OS command-line interface.To remove a power module, refer to Removing a Power Module. |
| 4. | Once the power supply is turned OFF, wait for 1 minute (60 seconds) before turning the power supply ON for GigaVUE‑HC2 |


