To integrate Gigamon ThreatINSIGHT with SMT-HC1-S module, you must deploy the ThreatINSIGHT Sensor as one of the tools on the SMT-HC1-S module. This topic provides instructions to complete the deployment.
Ensure that you complete the following prerequisites before you start with Gigamon ThreatINSIGHT Sensor deployment:
| Upgrade your GigaVUE‑FM instance. Refer to SMT-HC1-S (Gen 3 GigaSMART Card) for supported versions and upgrade paths. |
Note: The latest Long Term Support (LTS) version is usually recommended. For the latest LTS release information, refer to the Gigamon Software Release Status article on the Community.
| Add the GigaVUE-HC1 device that has the SMT-HC1-S module installed. For instructions, refer to Add New Physical Node or Cluster to GigaVUE-FM. |
| Generate a provision code from the Gigamon ThreatINSIGHT Portal to validate your Gigamon ThreatINSIGHT integration. The provision code that you generate is valid for 24 hours. For instructions, refer to the "Generate a Registration Code" section in the ThreatINSIGHT Portal Guides. |
Note: To access the Portal Guides, log in to the ThreatINSIGHT Portal and go to Help > Portal Guides.
| Ensure that the GigaSMART engine port on which you want to deploy the ThreatINSIGHT Sensor has internet connectivity so that the ThreatINSIGHT Sensor can connect to AWS. |
Note: If you are installing the SMT-HC1-S (Gen 3 GigaSMART Card), use the recommended upgrade path specific to this module. Refer to SMT-HC1-S (Gen 3 GigaSMART Card), for details.
To configure the network access:
| a. | From the device view, go to Ports > Ports > All Ports. |
| b. | Select the engine port and then click Edit. |
| c. | You can either manually assign the IP address or select the Enable DHCP check box to dynamically assign the IP address and other network configuration parameters. |
| d. | Select eth2 as the interface, and then click OK. |
Before you proceed with the deployment, ensure that you complete all prerequisites listed in the Prerequisites section.
To deploy Gigamon ThreatINSIGHT Sensor on the SMT-HC1-S module of GigaVUE-HC1:
| 1. | Log in to GigaVUE-FM, and then go to Inventory > Tools > Insight Sensors. |
| 2. | Click Add, and then in the Add Gigamon Integrated ThreatINSIGHT page, enter a unique name for the ThreatINSIGHT Sensor that you are deploying. |
| 3. | In the Provision Code field, enter the provision code that you have generated from the Gigamon ThreatINSIGHT Portal. |
| 4. | In the Cluster field, select the GigaVUE-HC1 node that has the SMT-HC1-S module installed. |
| 5. | In the Processing Engines field, select the required GigaSMART engine port to which you want to deploy the ThreatINSIGHT Sensor. |
Note: Only GigaSMART engine ports that are capable of ThreatINSIGHT Sensor deployment are listed.
| 6. | Click Activate. |
GigaVUE-FM creates the required configurations, such as the GigaSMART group and the Virtual port on the SMT-HC1-S module. GigaVUE-FM, then establishes connection with the ThreatINSIGHT Sensor using the provision code you provided. The ThreatINSIGHT Sensor communicates with the Gigamon ThreatINSIGHT Portal and obtains a sensor alias, which is populated in GigaVUE-FM and Gigamon ThreatINSIGHT Portal. It may take couple of minutes for the ThreatINSIGHT Sensor to be provisioned.
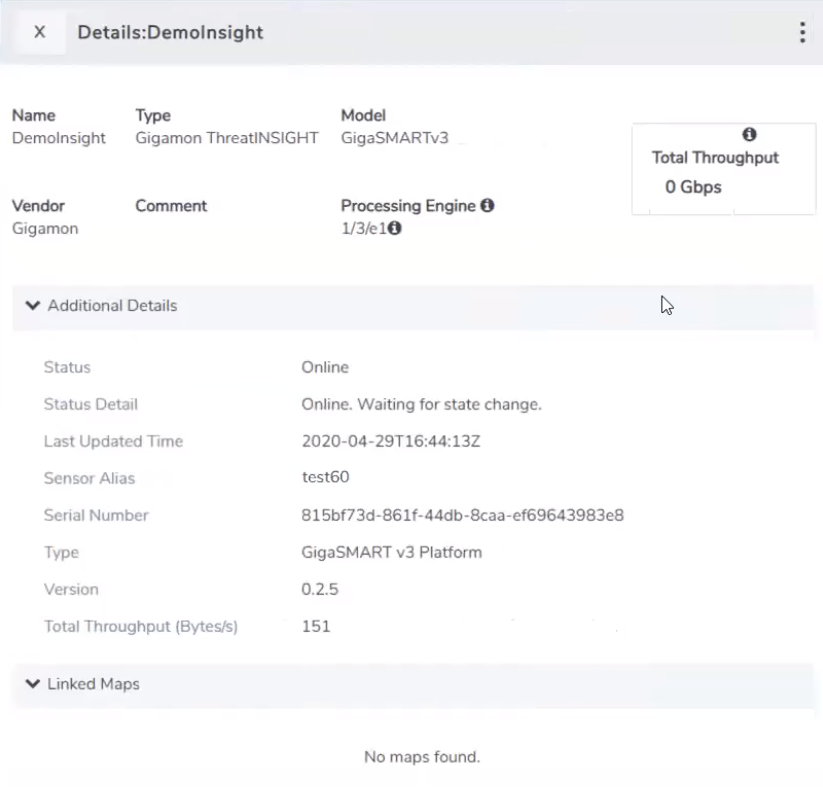
Ensure that the status of the ThreatINSIGHT Sensor is Online. You can view the status and alias of the ThreatINSIGHT Sensor in the following pages:
| GigaVUE‑FM—In the Tools page, select the ThreatINSIGHT Sensor that you have deployed, click the vertical ellipsis, and then select View Details. |
| Gigamon ThreatINSIGHT Customer Portal—Click the |


