Fabric Port Group
GigaSMART Load Balancing distributes outgoing traffic to multiple tool ports or tool port groups within a cluster (refer to GigaSMART Load Balancing section for detailed information). However, it is not possible to load balance the traffic if the tool ports and the GigaSMART operations are configured across clusters, as in the case of Fabric Maps.
The Fabric Port Group (FPG) feature extends the GigaSMART load balancing functionality to fabric maps using circuit ids and circuit tunnels, thus allowing load balancing between tool ports that reside on different clusters. However, you can also use FPG with in a cluster.
Refer to the following sections for more details:
- Fabric Port Group
- Rules and Notes
- Create Fabric Port Group
- Configure Fabric Map Using Fabric Port Group
How Fabric Port Groups Work?
A Fabric Port Group may be defined as a logical collection of tool ports that reside on different clusters. Each of the tool port in the Fabric Port Group receives load-balanced traffic.
Consider a GigaVUE-FM instance with the following clusters configured with tool ports:
- Cluster 1: Configured with Port 1 (1/1/x1), Port 2 (1/1/x2)
- Cluster 2: Configured with Port 3 (1/1/x3), Port 4 (1/1/x4)

Create a Fabric Port Group FPG1 using port 1/1/x1 of cluster 1 and port 1/1/x3 of cluster 2. Define the port weight for each of the ports. For the Fabric Port Group that is created, GigaVUE-FM:
- Creates cluster specific GigaSMART port groups with unique global circuit IDs. These circuit IDs route the traffic tagged by the source vport to the GigaSMART port groups of the destination cluster.
- Creates circuit tunnels with matching circuit ids along the fabric path. Based on the circuit id rules, the maps generated at the cluster level route the traffic to the next hop towards the final cluster level GigaSMART port groups.
Note: If any of the ports in the fabric port group goes down, the traffic from the port is redistributed to other healthy ports in the fabric port group.
Rules and Notes
Keep in mind the following rules and notes when you work with the Fabric Port Group feature:
- You can create a FPG using ports of types: Hybrid or Tool. Ports in a single FPG must be of the same port type.
- You can use FPG as destination ports in second-level maps that use load balanced GigaSMART operation in Fabric Maps. You cannot use FPG in the first-level, RegularbyRule, PassAll, or the collector maps.
- You cannot delete or edit an FPG that is deployed in a fabric map. You must first delete the fabric map that deploys the FPG and then delete/edit the FPG.
- You cannot use the individual tool ports of an FPG in another FPG.
- You cannot change the port type and mode of a tool port that is used in the FPG.
- You must not use the tool ports of a FPG in device or cluster-level configurations such as GigaStream, Port Pair, Cluster-level port group (though GigaVUE-FM does not restrict this).
- You cannot use two different load balancing GigaSMART operations for the same FPG.
Create Fabric Port Group
To create a Fabric Port Group:
- Go to Traffic> Orchestrated Flows > Fabric Maps > Fabric Port Group.
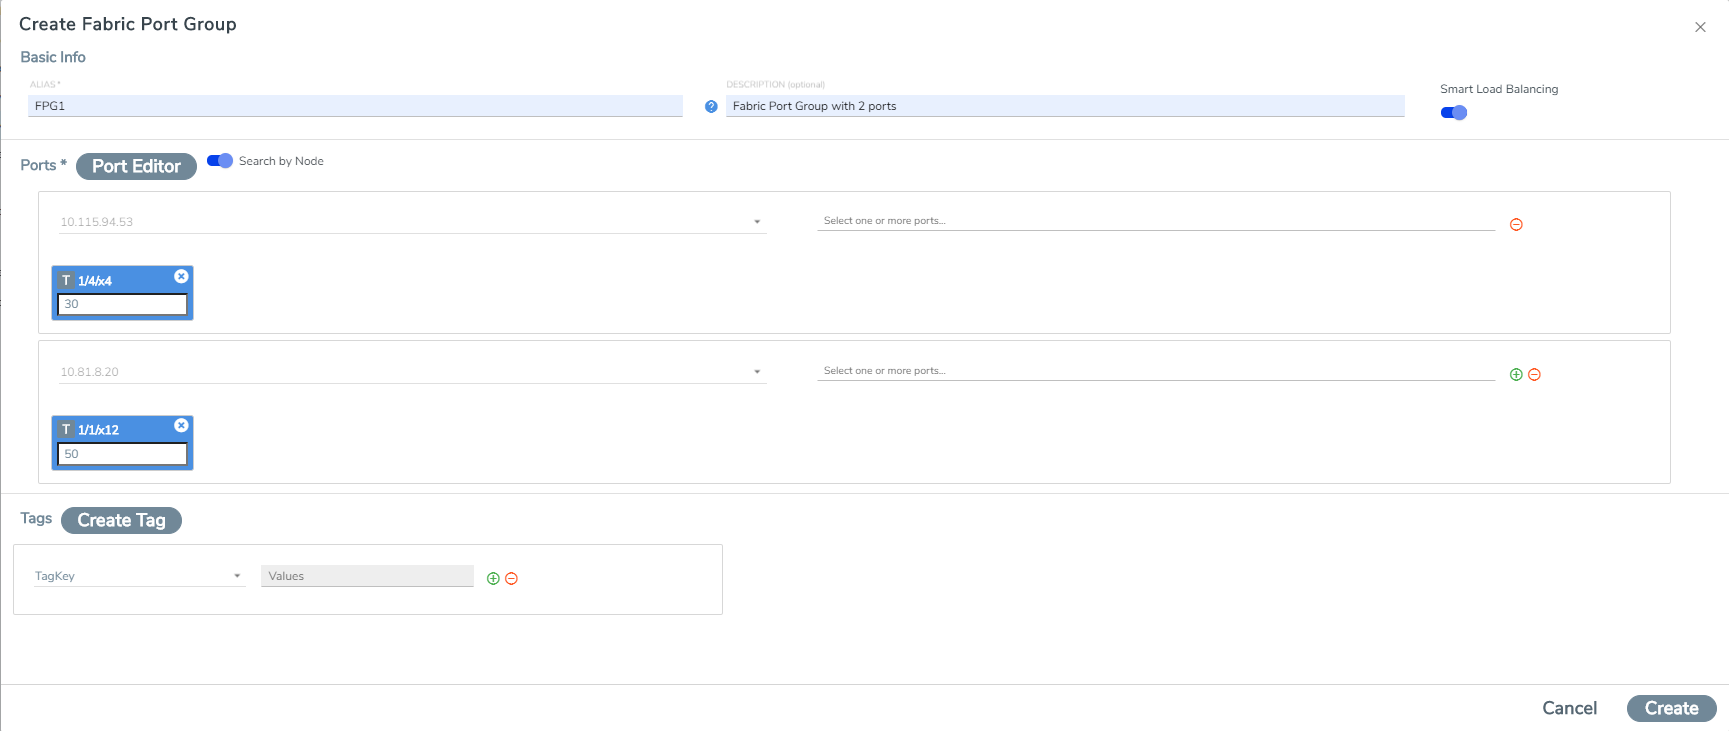
- Click Create. The Create Fabric Port Group page appears.
 .
. - In the Basic Info section, enter the name and description for the Fabric Port Group.
- In the ports section:
- Enter the port alias/port id, or
- Specify the node and ports. Use the +/- icon to add new nodes or remove the ports
- Define the weight for each of the ports used in FPG. The weight of the individual ports must be less than 100. The combined value of the ports can be greater than 100, as the actual load balancing ratio is computed with individual values divided by the combined value.
Note: Smart Load Balancing is enabled by default.
- Select the required tag key and tag value combination to associate the FPG to tags.
- Click Create. The fabric port group is created and is added to the list view.
Note: The tag key and the associated tag values must be created in advance in GigaVUE- FM. Refer to the "Tags" and "Role Based Access Control" sections in the GigaVUE Administration Guide for more details

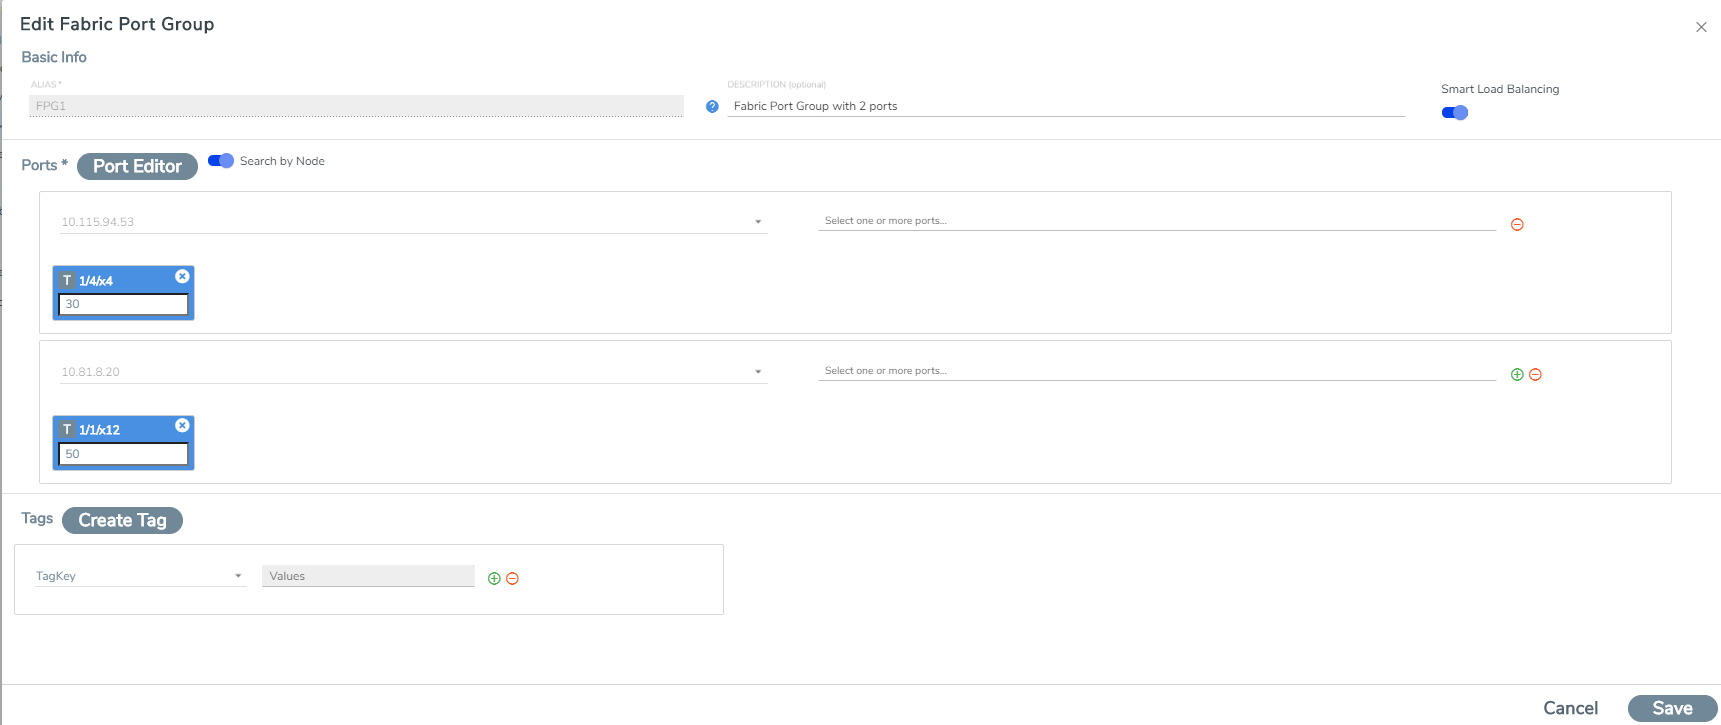
To edit an FPG, select the FPG that you want to edit from the list view and click the edit icon. Make the required edits to the FPG and click Save.

Configure Fabric Map Using Fabric Port Group
To configure the Fabric Port Group in Fabric Maps perform the following steps:
|
Task |
Description |
UI Steps |
|
1 |
Create a Fabric Port Group with alias FPG1. | Refer to Create Fabric Port Group |
|
2 |
Create a first level fabric map. |
Refer to Create Fabric Maps for the steps. Map Alias: FM_Firstlevel Map Type: First Level Source Port(s): Select a single port or multiple source ports from different clusters in a given topology. Destination Port(s): Select virtual port 'vport1' for the destination. Rule: Add the required rules.
|
| 3 |
Create a second level fabric map. |
Map Alias: FM_Secondlevel Map Type: Second Level Source Port(s): Select the virtual port 'vport1' (defined as destination in Task 2). Destination Port(s): To select the FPG1 created in Task 1: Enter the first three characters of the FPG created to view the FPG for selection. Rule: Add the required rules. |
| 4 | Click Create. | First-level and second-level fabric maps are created, with the FPG1 deployed in the second-level fabric map. |


